
While the difficulty of this task has become seemingly easier recently,
the comic still illustrates a useful point.

While the difficulty of this task has become seemingly easier
recently,
the comic still illustrates a useful point.
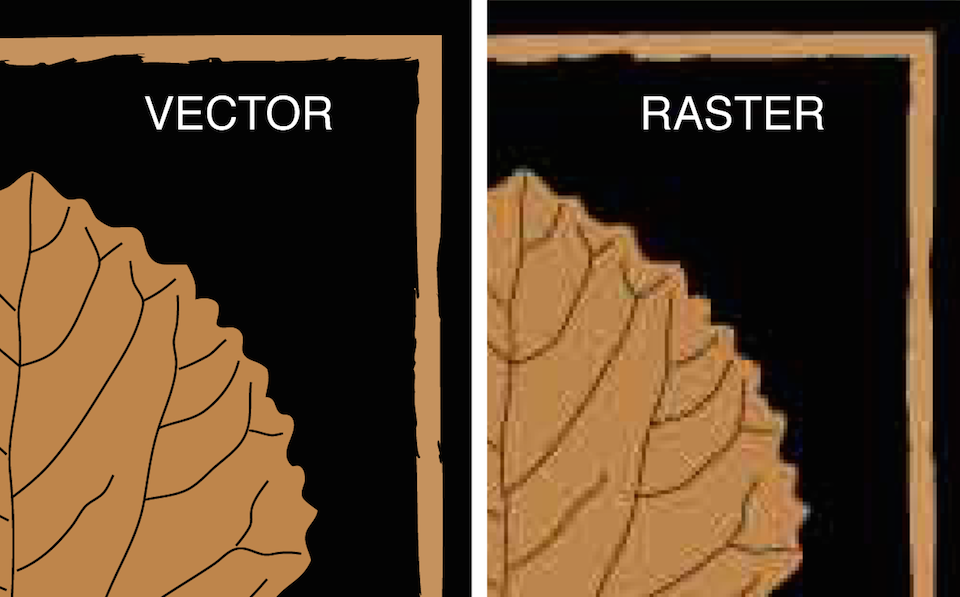
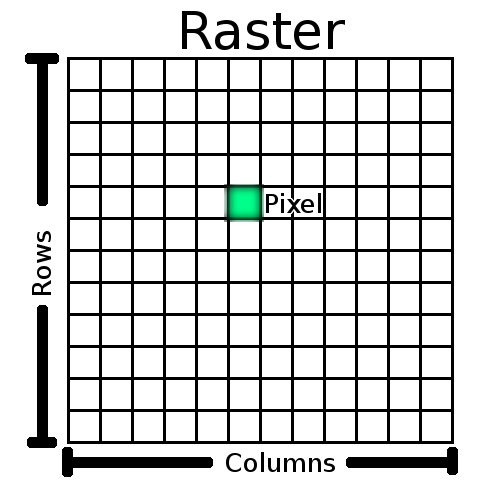
NOTE: (row, col) not (x, y) !!

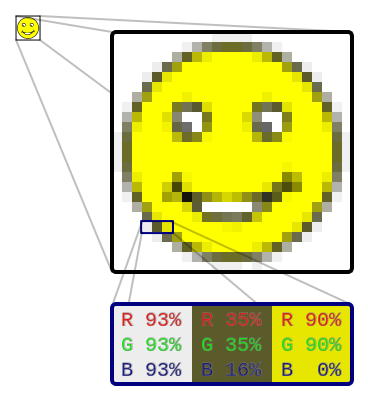
https://www.youtube.com/watch?v=15aqFQQVBWU
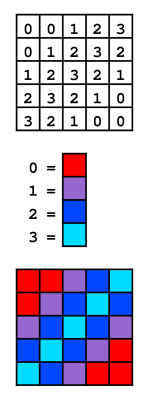
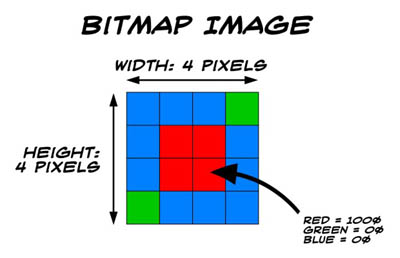
Raster image,
sometimes called bitmap,
which is really a pixmap format…
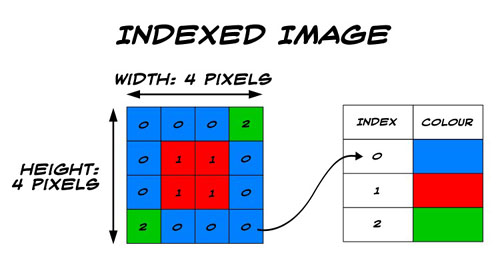
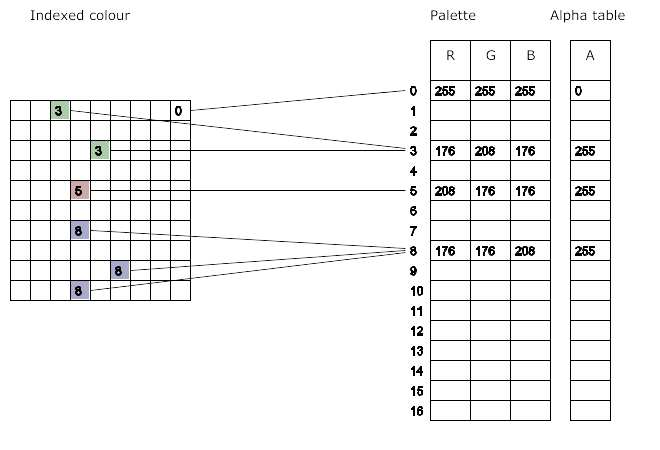
Indexed image:
https://en.wikipedia.org/wiki/Portable_Network_Graphics
https://www.w3.org/TR/2003/REC-PNG-20031110/index-noobject.html
This image has a transparent background specified by alpha
layer:
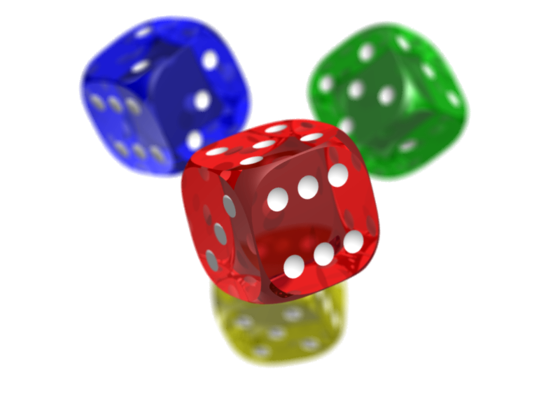
See the background?
Change the color of the background.
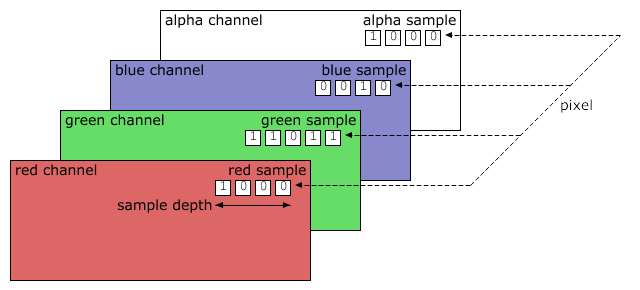
1 pixel is:
4-tuple, each of up to 28=256 per element,
with a total of 16,777,216 colors,
plus alpha layer.
PNG has an indexed option, but we won’t focus on it:
How do we select the cells in the image below?
Check out GIMP layers and thresholds (for segmenting)
Show this happening in GIMP on a simple cell image:
https://gitlab.com/bio-data/computer-vision/bio_images/
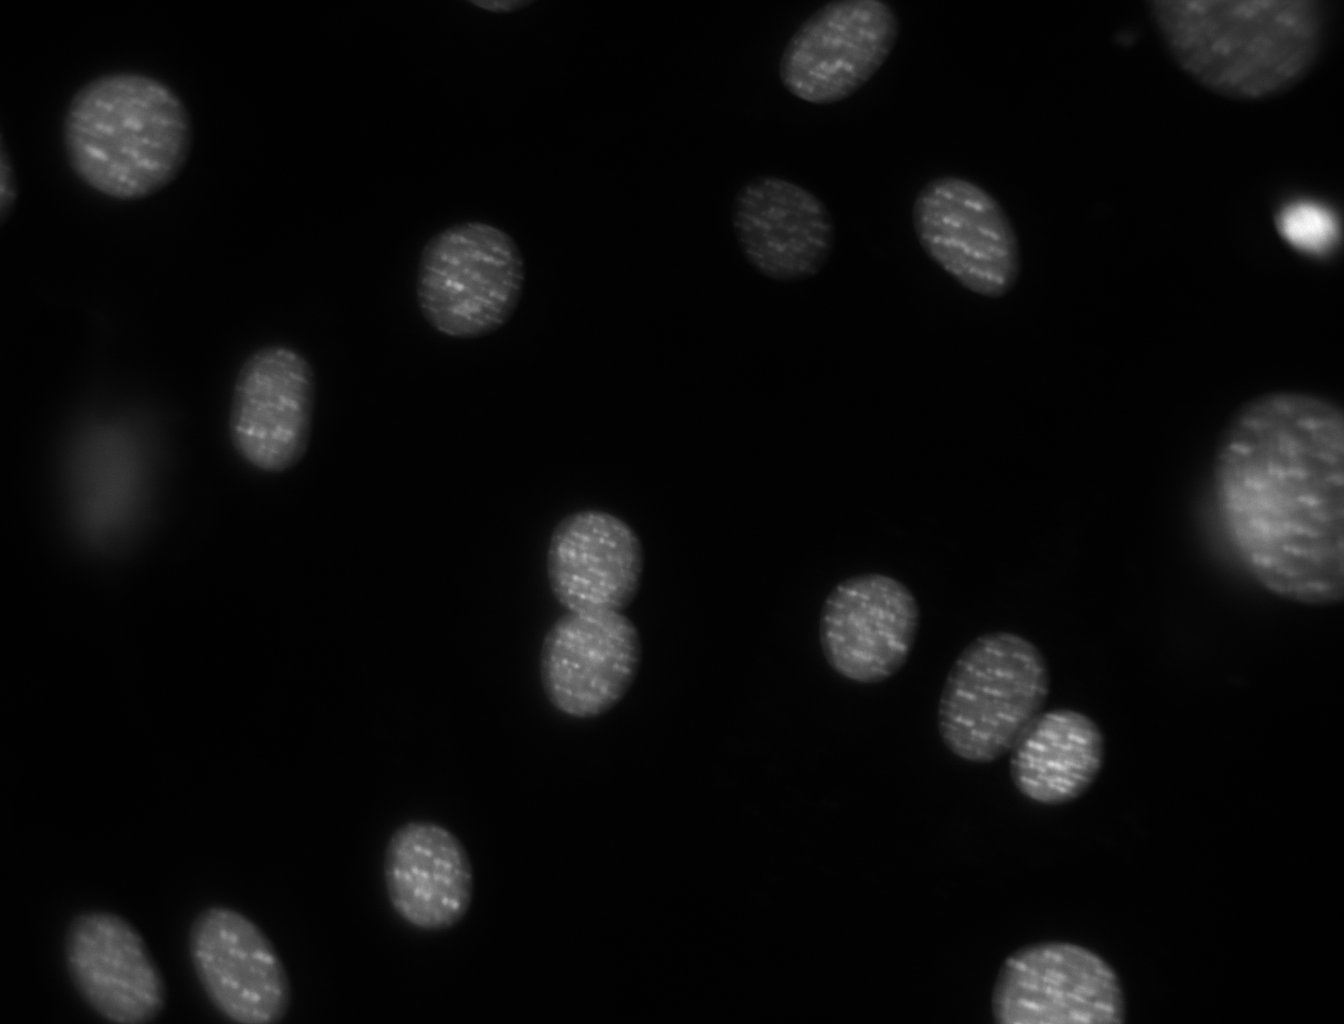
GIMP -> Colors -> Threshold
We will show how to do this in code upcoming:
https://en.wikipedia.org/wiki/Otsu's_method
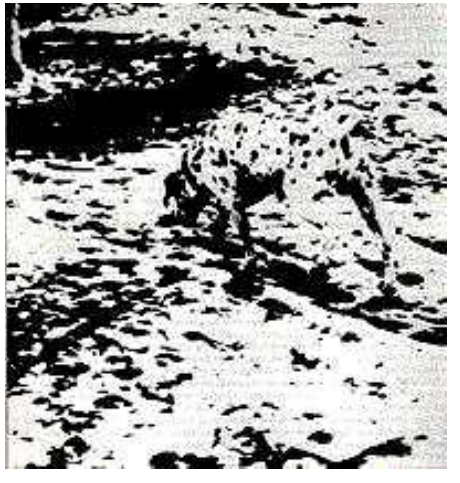
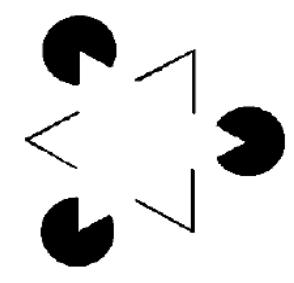
What about this one?

How do we fix the problem?
Does this do it?
GIMP -> Colors -> Desaturate
General recommendation:
Do not start with a vision API like OpenCV,
which is high-level, magic,,
but instead, start simple!
Start with numpy, ndimage, and skimage,
and do what you can manually with simple np.arrays,
and the functions in ndimage and skimage.
If that is not enough,
then check out the capabilities of sklearn.
Finally if that’s still not enough,
then you’re ready to dive into OpenCV,
which is has the riches set of pure-vision options,
or do it all from scratch.
https://en.wikipedia.org/wiki/NumPy
https://numpy.org/doc/stable/user/
https://numpy.org/learn/
Python NumPy provides support for large, multi-dimensional arrays.
Using NumPy, we can express images as multi-dimensional arrays.
https://en.wikipedia.org/wiki/SciPy
https://docs.scipy.org/doc/scipy/tutorial/
The ndimage performs image operations at a mid-level of
abstraction.
Image processing and analysis operates on two-dimensional arrays of
values.
Images of higher dimensionality must also often be analyzed.
Good examples of these are medical imaging and biological imaging.
Python’s numpy is suited very well for this type of applications,
due its inherent multidimensional nature.
The scipy.ndimage package provides a general image processing and
analysis functions,
that are designed to operate with arrays of arbitrary
dimensionality.
The packages currently includes functions for:
linear and non-linear filtering, binary morphology,
B-spline interpolation, and object measurements.
https://en.wikipedia.org/wiki/Scikit-image
https://scikit-image.org/docs/stable/user_guide.html
https://scikit-image.org/docs/stable/auto_examples/index.html
The scikit-image SciKit (toolkit for SciPy) extends scipy.ndimage,
to provide a versatile set of image processing routines.
Scikit-image is a collection of algorithms for image processing.
It includes algorithms for:
segmentation, geometric transformations, color space manipulation,
analysis, filtering, morphology, feature detection, and more.
It is designed to interoperate with NumPy and SciPy.
Scikit-learn is a general machine learning library,
with many applications in vision and bioimage informatics
https://scikit-learn.org/stable/auto_examples/
Review vision examples at the above link,
particularly those related to segmentation and labeling.
Mahotas
https://mahotas.readthedocs.io
Bioimage informatics specific
Originally developed for biological image processing.
Fairly limited in scope, and mostly redundant with skimage.
PILLOW (old version was PIL)
https://python-pillow.org/
https://pillow.readthedocs.io
The Python Imaging Library or PIL allows you to do image processing in
Python.
This might be for basic batch stuff, cut, paste, crop, clean,
for managing personal or website pictures, less for scientific
purposes.
SimpleCV:
http://simplecv.org/
http://tutorial.simplecv.org/en/latest/
The goal of SimpleCV is to make it easier to do basic image processing
and computer vision.
The learning curve is substantially smaller than that of OpenCV,
and as their tag-line says, “it’s computer vision made easy”.
More about the basic image handling, than scientific computing.
Because we represent images with numpy arrays,
our coordinates must match accordingly.
Two-dimensional (2D) grayscale images are indexed by row and
columns,
(abbreviated to either (row, col) or (r,
c)),
with the lowest element (0, 0), at the top-left corner.
You will also see rr and cc refer to lists of row and column
coordinates.
We contrast this against (x, y),
which commonly denote standard Cartesian coordinates,
where x is the horizontal coordinate, y the vertical,
and the origin is on the bottom left.
Matplotlib, for example, uses this convention.
In the case of color (or multi-channel) images,
the last dimension contains the color
information,
and is denoted channel or ch.
For 3D images, such as videos,
magnetic resonance imaging (MRI) scans, or confocal microscopy,
we refer to the leading dimension as a plane,
abbreviated as pln or p:
2D grayscale (row, col)
2D multichannel (eg. RGB) (row, col, ch)
3D grayscale (pln, row, col)
3D multichannel (pln, row, col, ch)
+++++++++++ Cahoot-20-1
In skimage, images are simply numpy arrays,
which support a variety of data types, i.e. “dtypes”.
To avoid distorting image intensities (see Re-scaling intensity
values),
we assume that images use the following dtype ranges:
Data type Range
---------------------
uint8 0 to 255
uint16 0 to 65535
uint32 0 to 232
float -1 to 1 or 0 to 1
int8 -128 to 127
int16 -32768 to 32767
int32 -231
to 231 - 1
Although we aim to preserve the data range and type of input
images,
functions may support only a subset of these data-types.
In such a case, the input will be converted to the required type (if
possible),
and a warning message printed to the log if a memory copy is
needed.
Type requirements should be noted in the doc-strings.
The following utility functions are available to developers and
users:
Function name Description
---------------------------
img_as_float Convert to 64-bit floating point.
img_as_ubyte Convert to 8-bit uint.
img_as_uint Convert to 16-bit uint.
img_as_int Convert to 16-bit int.



How do you actually handle and display images in code?
imagevar = skimage.io.imread("path/filename")
imagevar = matplotlib.pyplot.imread("path/filename")
imagevar = imageio.imread("path/filename")
skimage.io.imshow(image)
skimage.io.show()
# or
matplotlib.pyplot.imshow(image)
matplotlib.pyplot.show()
https://gitlab.com/bio-data/computer-vision/bio_images/intro.py
Skim this in class
https://scipy-lectures.org/packages/scikit-image/
https://scipy-lectures.org/advanced/image_processing/